

How to Test Garage Door Safety Sensors: A Safe Homeowner’s Guide
Updated: Oct 14
What if your garage door’s safety sensors pass a basic test, but the door still won’t close? A door that stops or reverses unexpectedly can disrupt access and leave you unsure whether the sensors, opener or another part is causing the problem. Knowing how to test garage door safety sensors can help you understand what the system is doing, without putting anyone in the doorway or compromising the door’s safety.
This guide explains how to carry out a cautious, basic check and what a successful or failed result may indicate. You’ll learn how to interrupt the sensor beam with a suitable object, what to look for during a visual check, and why your opener’s instructions matter. If the test doesn’t go as expected, or the cause remains unclear, don’t bypass the sensors or attempt hazardous repairs. A professional garage door repair can help identify the fault and restore safe operation.
Table of Contents
Why garage door safety sensors matter, and what a problem can look like
A garage door is heavy, so its closing path needs a way to detect an obstruction. On many automatic opener systems, safety sensors help the opener respond if something is in the way as the door closes. The setup and response vary between models, so use the opener’s instructions to identify what normal operation should look like.
Garage door safety sensors help an opener detect an obstruction in the door’s path while it’s closing. That matters whether the potential obstacle is a parked bike, a storage box or something less easy to spot. Sensors have a different role from the remote: the remote sends the command to open or close, while the safety system monitors the closing path. A general overview of garage door opener safety features describes how sensors, sometimes called electric eyes, fit into opener systems.
What safety sensors do when the door is closing
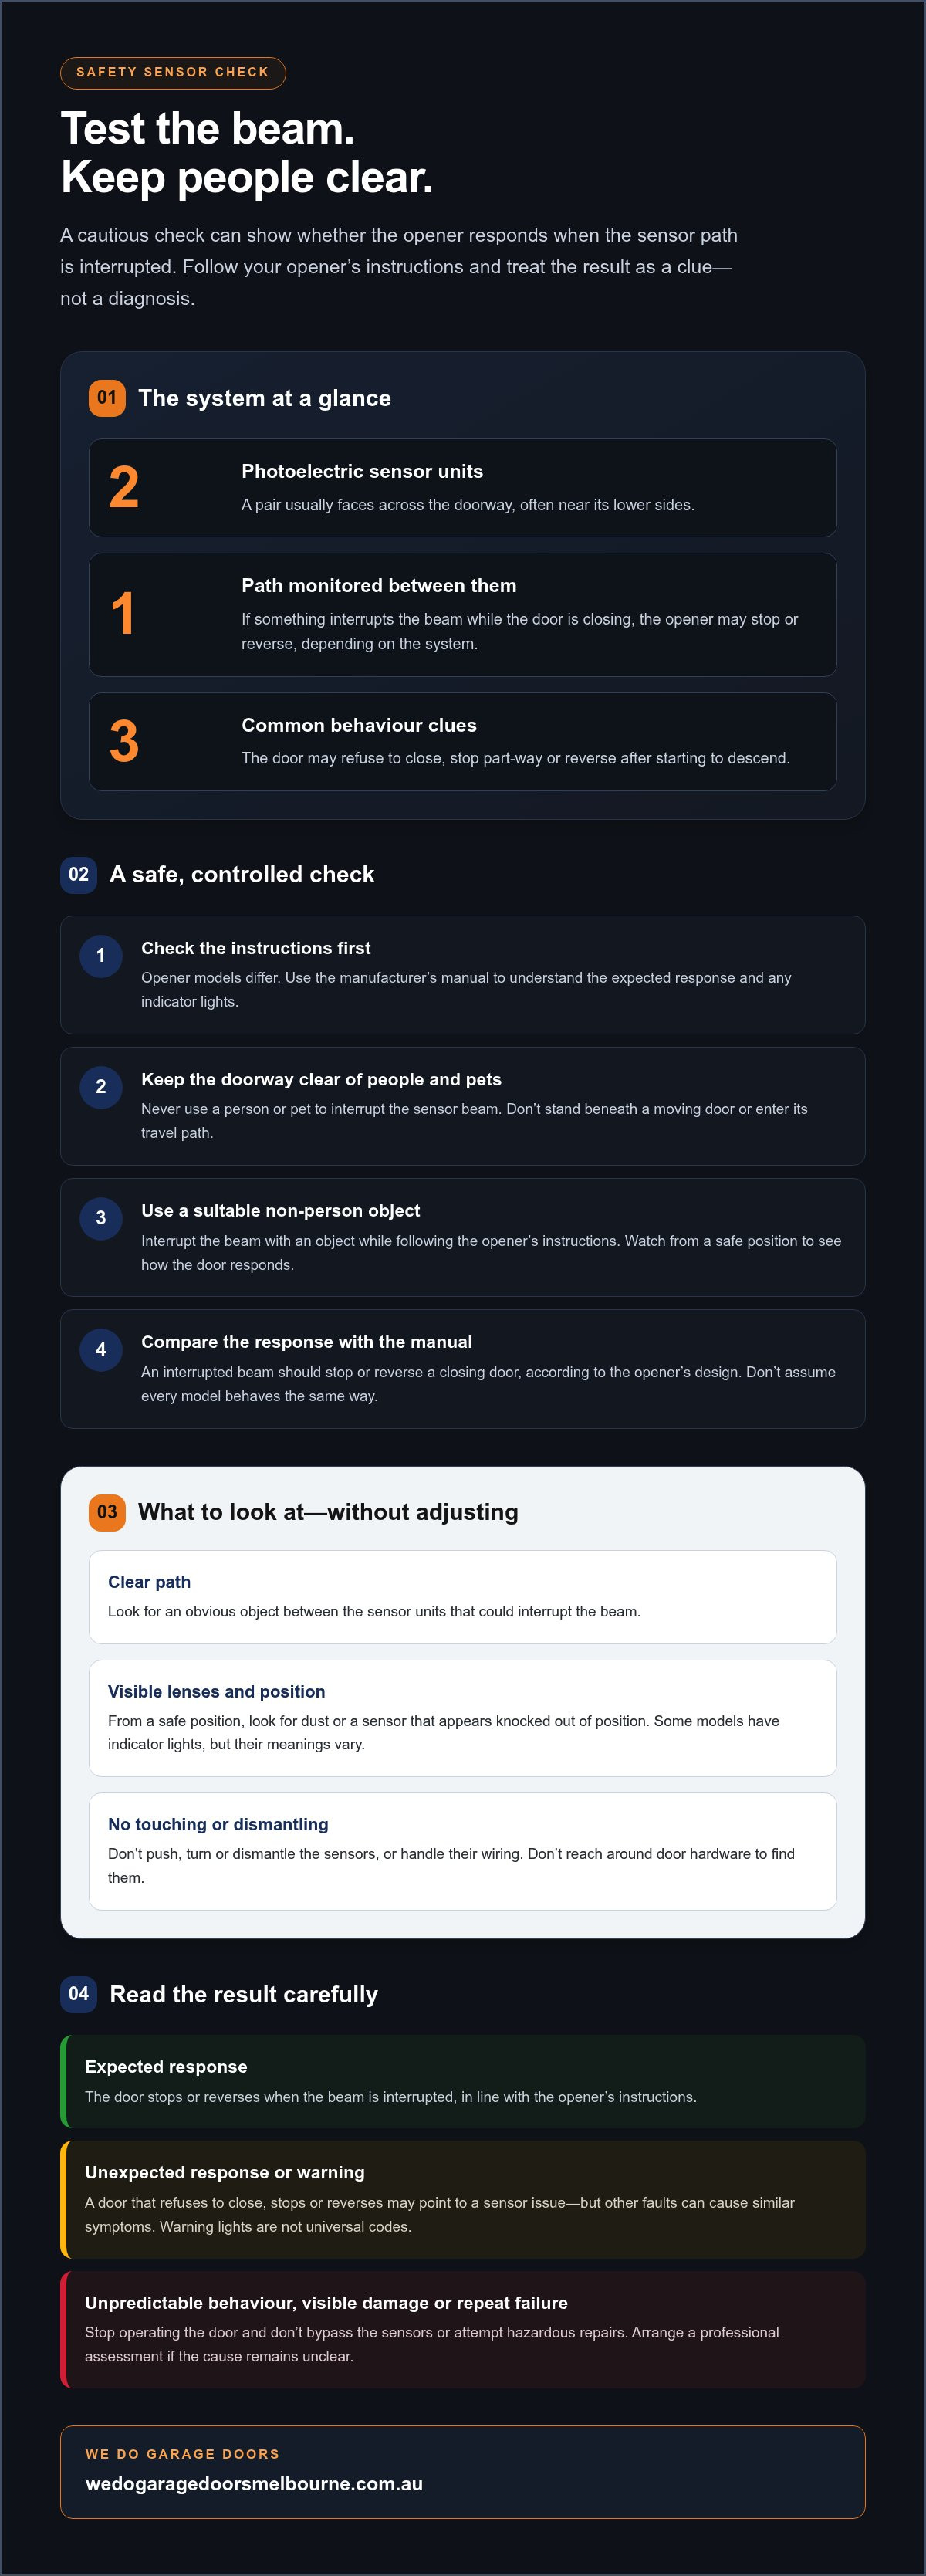
On systems with photoelectric sensors, a pair of units faces across the doorway, often near its lower sides. They monitor the space between them. If something interrupts their path while the door is closing, the opener may stop the door or reverse it, depending on the system. This differs from a remote, which sends an instruction to the opener. Check the manufacturer’s instructions before deciding what response to expect.
Signs that may point to a sensor issue
A sensor problem may show up as a door that refuses to close, stops part-way or reverses after starting to descend. Some openers also display a warning, but indicator lights and their meanings aren’t universal. Treat these as clues rather than a diagnosis. Similar symptoms can have different causes, so the door’s behaviour alone won’t confirm which component needs attention.
Observe the door from a safe position. Note whether the problem happens every time or only intermittently, and whether a warning appears. This can help you describe the fault if you need assistance, but don’t keep operating a door that behaves unpredictably.
Refuses to close: The opener may be responding to an interrupted sensor path, although other faults can cause the same symptom.
Stops or reverses: The safety system may have detected an obstruction, or the opener or door may be behaving abnormally.
Shows a warning: Note what appears, then check the opener’s manual. Don’t assume every light or display has the same meaning.
These clues show why learning how to test garage door safety sensors is useful, but one symptom can’t confirm the cause. A controlled check, with the doorway clear and the manufacturer’s instructions at hand, is the next step. If the door’s response seems unsafe or inconsistent, stop and arrange an assessment rather than trying to override the safety system.
How garage door safety sensors work before you test them
Knowing what the sensors are designed to do makes a test easier to interpret. Many automatic garage door openers use a photoelectric pair to monitor the doorway. Each unit sends or receives a beam across the opening. If something interrupts the path while the door is closing, the opener should respond according to its design. An interrupted sensor beam should stop or reverse a closing door, depending on the opener’s instructions.
This is separate from the remote-control function. A remote sends an instruction to the opener; the sensors provide information about the closing path. Systems differ, so don’t assume another garage’s indicator lights or door response will match yours. Check your own manual before testing or interpreting a warning, especially if the opener has more than one safety feature.
Identify the sensor pair without touching the door hardware
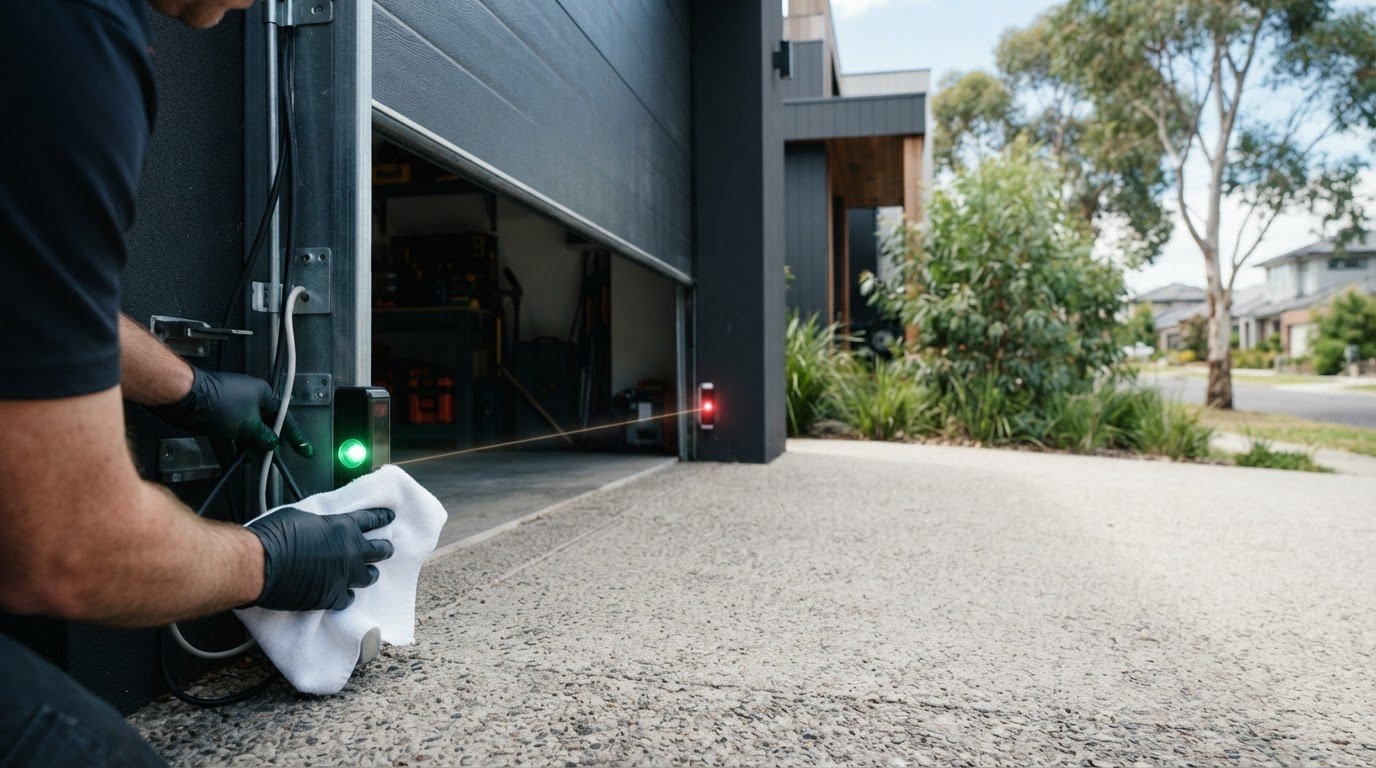
From a safe standing position, look near the lower sides of the garage door opening for two small units facing one another. Their lenses point across the doorway, and some models have indicator lights. You can locate them visually without touching them. Keep your hands and tools away from the units, and keep people and pets clear of the door’s travel path.
Before moving closer to inspect anything, make sure the door is stationary. Don’t crouch under a moving door or place yourself between the door and the floor. If you can’t see the sensors clearly from a safe position, don’t reach around the door hardware to find them. A clear view is enough for this initial check.
Why alignment and a clear beam matter
The paired units need a clear path between them. An object in the doorway, dust on a lens or a sensor knocked out of position may interfere with the beam and affect how the opener behaves during closing. You can look for obvious obstructions, but don’t push, turn or dismantle the sensor or its wiring. Doing so can change the setup or make the fault harder to diagnose.
Indicator lights can offer a clue, but they aren’t a universal pass-or-fail code. Their presence, colour and meaning vary between openers, so a light alone doesn’t prove the system is working. Use the manufacturer’s manual to interpret your model’s indicators. If the manual is missing, the opener’s model details may help you locate the right instructions. Don’t rely on a light pattern from another unit.
Once you know where the sensors sit and what their beam does, you’re better prepared to follow the steps on how to test garage door safety sensors. If the setup is damaged or the door’s behaviour remains uncertain, leave it untouched and arrange an assessment. We Do Garage Doors provides garage door repairs in Melbourne, including repairs when an opener or its safety system isn’t responding as expected.
How to test garage door safety sensors safely, step by step
A controlled test can show whether the sensor system responds when its beam is interrupted. Safety comes first: don’t put a person or pet in the doorway, and don’t test a door that looks damaged or behaves unpredictably. Follow your opener’s manual, as the correct test method and expected response can vary by model. The manual is the best guide to the controls and test object for your opener.
Prepare the area and set up the test
Start with the door fully open and stationary. Clear children, pets, vehicles and loose items from the doorway and the door’s travel area. Read the manual and use only the test object it recommends. If it doesn’t specify one, don’t improvise with something heavy, sharp or likely to damage the door or sensors. Keep your body outside the opening throughout the test.
Don’t proceed if the door, tracks, cables, springs, sensors or opener appear damaged, or if the door is already moving inconsistently. Don’t touch or adjust wiring or door hardware. If you can’t confirm the safe procedure in the manual, leave the test to a technician.
Interrupt the beam and observe the response
Check the opener’s manual for the control used to start a closing cycle and the appropriate non-person test object. A cardboard box may be recommended for some systems, but don’t assume it’s suitable for yours. Place the object as instructed so it interrupts the sensor beam, then move well clear before operating the door. Never hold an object by hand in the beam while the door is moving.
Confirm the door is fully open, the area is clear and the test object is positioned as the manual instructs.
From a safe position outside the doorway and away from the moving door, use the specified control to begin closing.
Watch the door without approaching it. Compare its response with the manufacturer’s description of a successful test.
Pass criterion: the door responds to the interrupted beam as its manufacturer specifies. The response can differ between models, so don’t rely on a generic rule about whether the door must stop or reverse. If it continues closing as though nothing has changed, behaves unexpectedly or creates a hazard, stop the test. Don’t repeat it until you’ve reviewed the instructions and addressed any obvious safety concern.
A test result is useful only if you can compare it with the correct instructions. If the test fails or you’re unsure what you observed, don’t bypass the sensors or keep operating the door to experiment. A professional assessment can help identify whether the issue lies with the sensors, opener or another part of the door system. We Do Garage Doors provides garage door repairs in Melbourne when the cause needs a closer look.
What a failed sensor test means, and which checks are safe
A failed test means you can’t rely on the door’s safety response until the cause has been resolved. It doesn’t prove that a sensor itself is faulty. A blocked or dirty lens, a sensor that has shifted, a wiring issue, an opener fault or a problem with the door’s movement can produce similar symptoms. The test shows that the system hasn’t responded as expected, not which component is responsible.
Keep troubleshooting to visible, low-risk checks. Don’t open the opener housing, handle or alter wiring, adjust door mechanisms or bypass the sensors. Garage door hardware can be under significant tension, and adjusting the wrong part can create further risk. If you’re unsure whether a check is safe, stop and arrange a professional assessment.
Safe external checks to try once
Only check the system while the door is stationary. From a safe position, look for items visibly blocking the sensor path and move them clear without reaching beneath or around the door. If the lenses are safely accessible, gently wipe their surfaces with a soft, dry cloth. Don’t spray cleaners onto the sensors or push, twist or realign the units.
After these simple checks, you may repeat the manufacturer’s test once if the door and surrounding area still appear safe. Follow the same instructions for the test object and control. If the test still fails, stop rather than trying different objects, controls or resets. Repeated attempts don’t establish that the system is safe.
When to stop troubleshooting
Stop using the automatic close function if the test continues to fail. Don’t bypass the sensors or treat repeated resets as a repair. Also stop if the door reverses unpredictably, stays stuck, moves unevenly or has visible damage to the door, tracks or hardware. Keep people and pets clear, and don’t force the door to move.
A warning light or failed test may point to a sensor issue, but it can also relate to the opener, wiring or the door’s behaviour. These parts work as a system, so a visual check can’t reliably distinguish every cause. Note what happened, including any warning and whether the door stopped, reversed or failed to move. This information can help a technician assess the fault without you taking on hazardous repairs.
If safe checks don’t restore a reliable response, arrange professional garage door repair in Melbourne. We Do Garage Doors can assess the sensor system alongside the opener and door behaviour to identify what needs attention. Arrange a garage door repair assessment if the test still fails or the door’s operation remains uncertain.
When to arrange garage door sensor repair in Melbourne
Arrange a professional assessment if the sensor test fails again after safe external checks, if you can see damage, or if the door’s response is inconsistent. A sensor warning or unreliable closing cycle is a reason to pause, not keep trying resets or adjustments. Leave the automatic close function unused until the cause has been assessed, and keep people and pets clear of the door.
What a technician can assess after a failed test
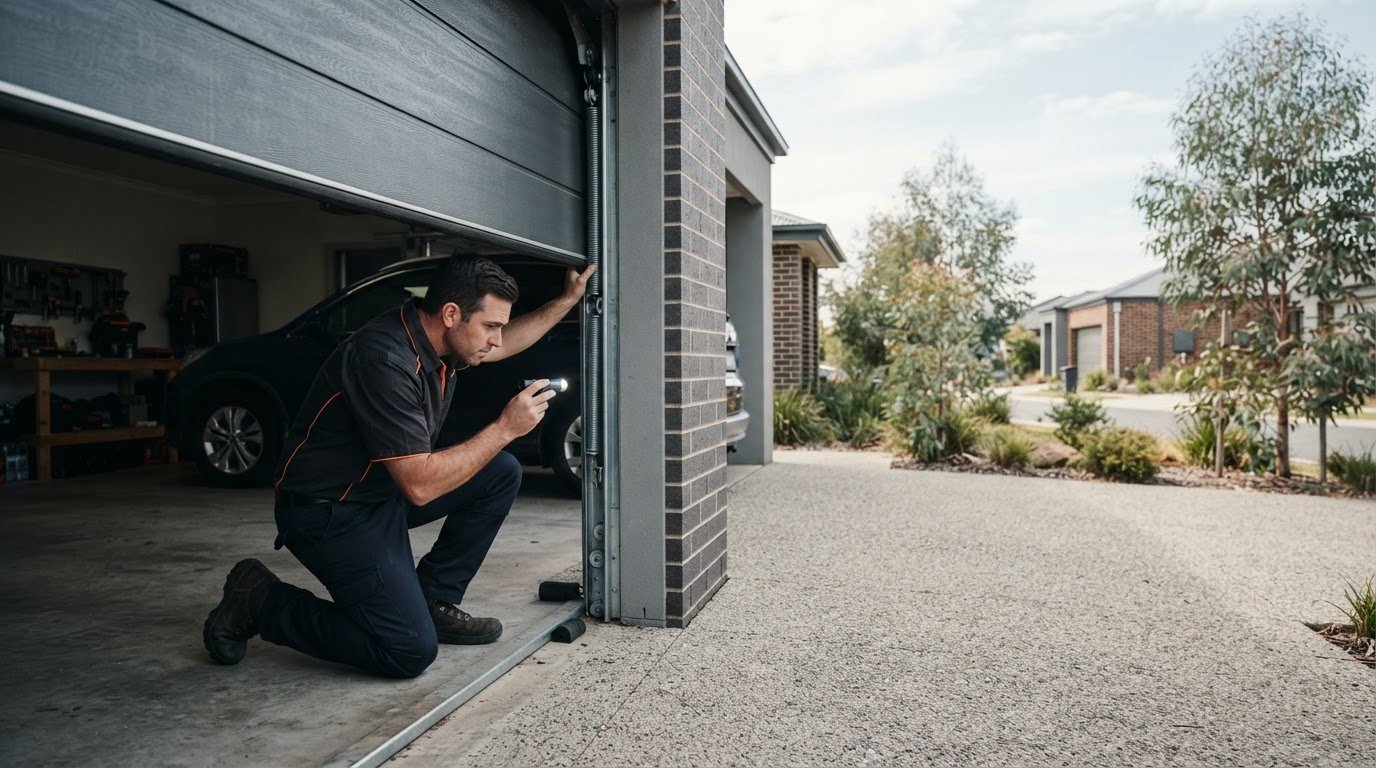
A technician can inspect the visible condition and alignment of the sensor units, then assess how the opener responds during operation. The cause may be beyond the sensors themselves, so the opener and the door’s movement also matter. Looking at these parts together helps identify what needs attention without assuming a failed test automatically means the sensor units need replacing.
Before arranging help, note what happened during your test: whether the door began closing, stopped or reversed, and whether the opener displayed a warning. Don’t try to confirm a suspected wiring or mechanical fault yourself. Sharing what you observed gives the technician a clearer starting point, while leaving inspection and repairs to a professional.
For a wider view of the repair process, the Melbourne garage door repairs guide explains issues that can affect residential doors. The annual garage door maintenance checklist also offers a practical reference for routine homeowner checks. Neither replaces an assessment when a safety test fails.
Getting local help across Melbourne’s northern suburbs
We Do Garage Doors provides residential garage door repairs across Melbourne, including Greenvale, Craigieburn, Mickleham, Roxburgh Park and Wollert. If your result remains unclear, a local technician can assess the sensor system alongside the opener and door behaviour, then explain the next steps based on the fault. You don’t need to guess at the cause or attempt a risky repair yourself.
If your test has failed or the door is behaving unpredictably, arrange local garage door repair assistance. Knowing how to test garage door safety sensors can help you recognise when the system needs attention. A professional assessment is the practical next step.
Take the next step towards dependable operation
A sensor test gives you useful information, but you don’t need to solve every fault yourself. Use what you observed to decide whether the system is responding reliably, and leave wiring or door-mechanism concerns to a professional. Knowing how to test garage door safety sensors is most valuable when it helps you recognise when to stop and seek help. For prospective buyers assessing an entire property, professional services like A Premier Home Inspection evaluate garage doors and safety sensors as part of a comprehensive pre-purchase inspection.
We Do Garage Doors is an independent local business operated by master garage door technicians, providing residential repairs and maintenance across Melbourne. The team also handles motor replacement and emergency repair assistance. If the test failed or the door’s response still doesn’t feel right, arrange a professional assessment rather than relying on an uncertain safety system.
Arrange local garage door repair support for a practical next step towards restoring confidence in your garage door. A professional assessment can help identify what needs attention.
Frequently Asked Questions
How often should I test garage door safety sensors?
Follow the testing schedule in your opener’s manual, as recommended intervals differ by model. If the manual doesn’t give a schedule, include a sensor check in your regular home maintenance routine and repeat it if the door’s behaviour changes or the sensors are disturbed. For broader household upkeep alongside specialist door care, homeowners often rely on repair services such as American Handyman to manage ongoing property maintenance. Knowing how to test garage door safety sensors is also useful after work near the doorway, but always use the manufacturer’s method.
Can sunlight interfere with garage door safety sensors?
Strong direct sunlight can interfere with some photoelectric sensor systems, depending on their design and the angle of the light. The effect may be more noticeable at certain times of day, such as when low sun shines directly towards a sensor. Check your opener’s manual for model-specific advice. Don’t reposition a sensor yourself. If the problem regularly occurs in bright conditions, arrange an assessment.
What do the indicator lights on garage door sensors mean?
Indicator lights can show information about a sensor’s status, but their meaning depends on the opener model. A steady light on one system may not mean the same thing on another, and a light alone doesn’t prove the complete safety system works. Check the light pattern in your manual, including whether it changes during operation. If the display doesn’t match the guide, note what you see for a technician.
Can I clean garage door safety sensor lenses myself?
Yes, if the lenses are safely accessible while the door is stationary. Wipe gently with a clean, soft, dry cloth. Avoid abrasive materials, liquid cleaners and pressing on the sensor. A visible smudge or cobweb can be cleared without opening the unit. If dirt appears inside the housing, the lens is cracked, or cleaning doesn’t resolve the issue, stop and arrange a professional assessment.
Will garage door safety sensors work during a power outage?
The opener and its sensor system usually need power to operate, so don’t assume the sensors can protect a powered opener during an outage. Some openers may have a battery backup, but whether the door and safety features work on backup power depends on the model and its instructions. Check the manual for outage operation, and never treat manual release as permission to operate a damaged or unsafe door.
Are garage door safety sensors the same as the opener’s auto-reverse feature?
No. Photoelectric sensors monitor the doorway for an interrupted beam, while an auto-reverse feature is a separate protective function built into some opener systems. They provide different types of protection, and one shouldn’t be treated as a substitute for the other. Your manual explains which features your opener has and how they should respond. If either safety function appears unreliable, arrange an assessment before relying on the door.
Comments